Rembrandt and other lighting techniques.

Firstly, it is crucial to understand that there is nothing like ”the best lighting technique for portrait photography”.

Each lighting setup creates a different effect, tells a different story, and evokes different emotions.
Whichever one you decide to use, you need to make sure it will be right for the image you plan on creating.

As a photographer, my main goal is to create portraits that capture my client’s emotions, their soul, the timeless feeling – the reverie.
The best way to achieve it, is by using “one light setup”.  As a result, the leading light will illuminate the face, taking the viewer’s attention straight over there.

As my portraits are mostly intense, atmospheric, and even dramatic, the Rembrandt’s lighting technique is the best choice to enhance those feelings.

1. REMBRANDT LIGHTING

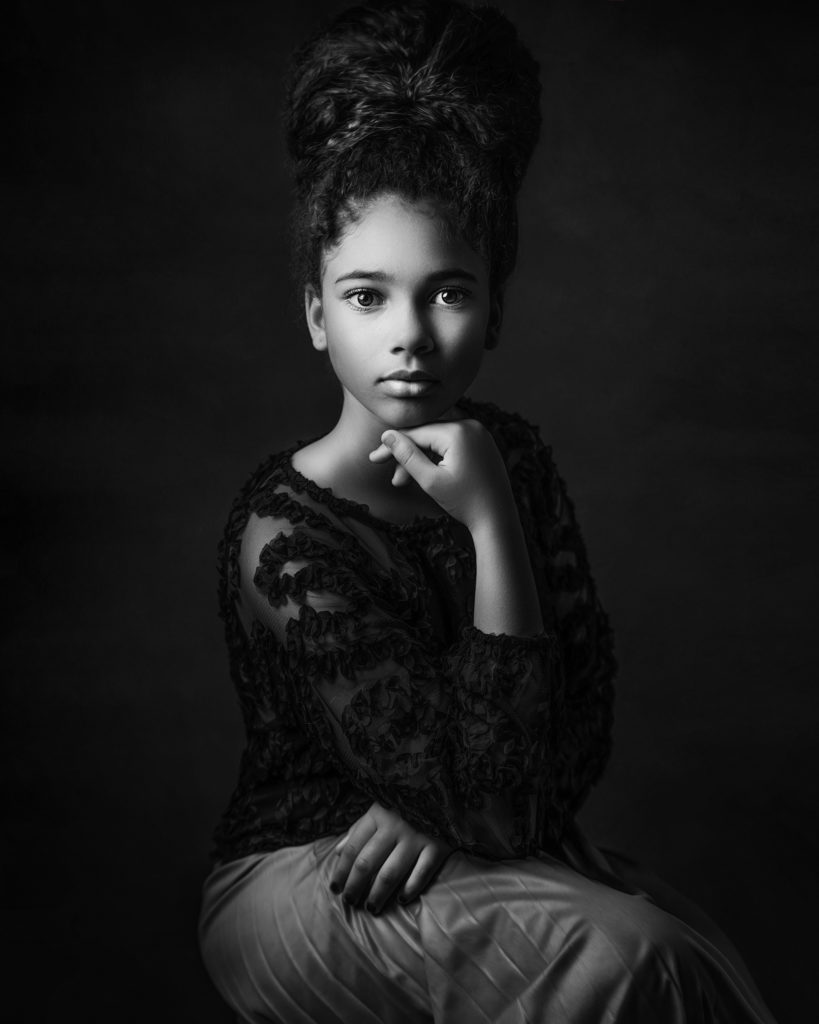
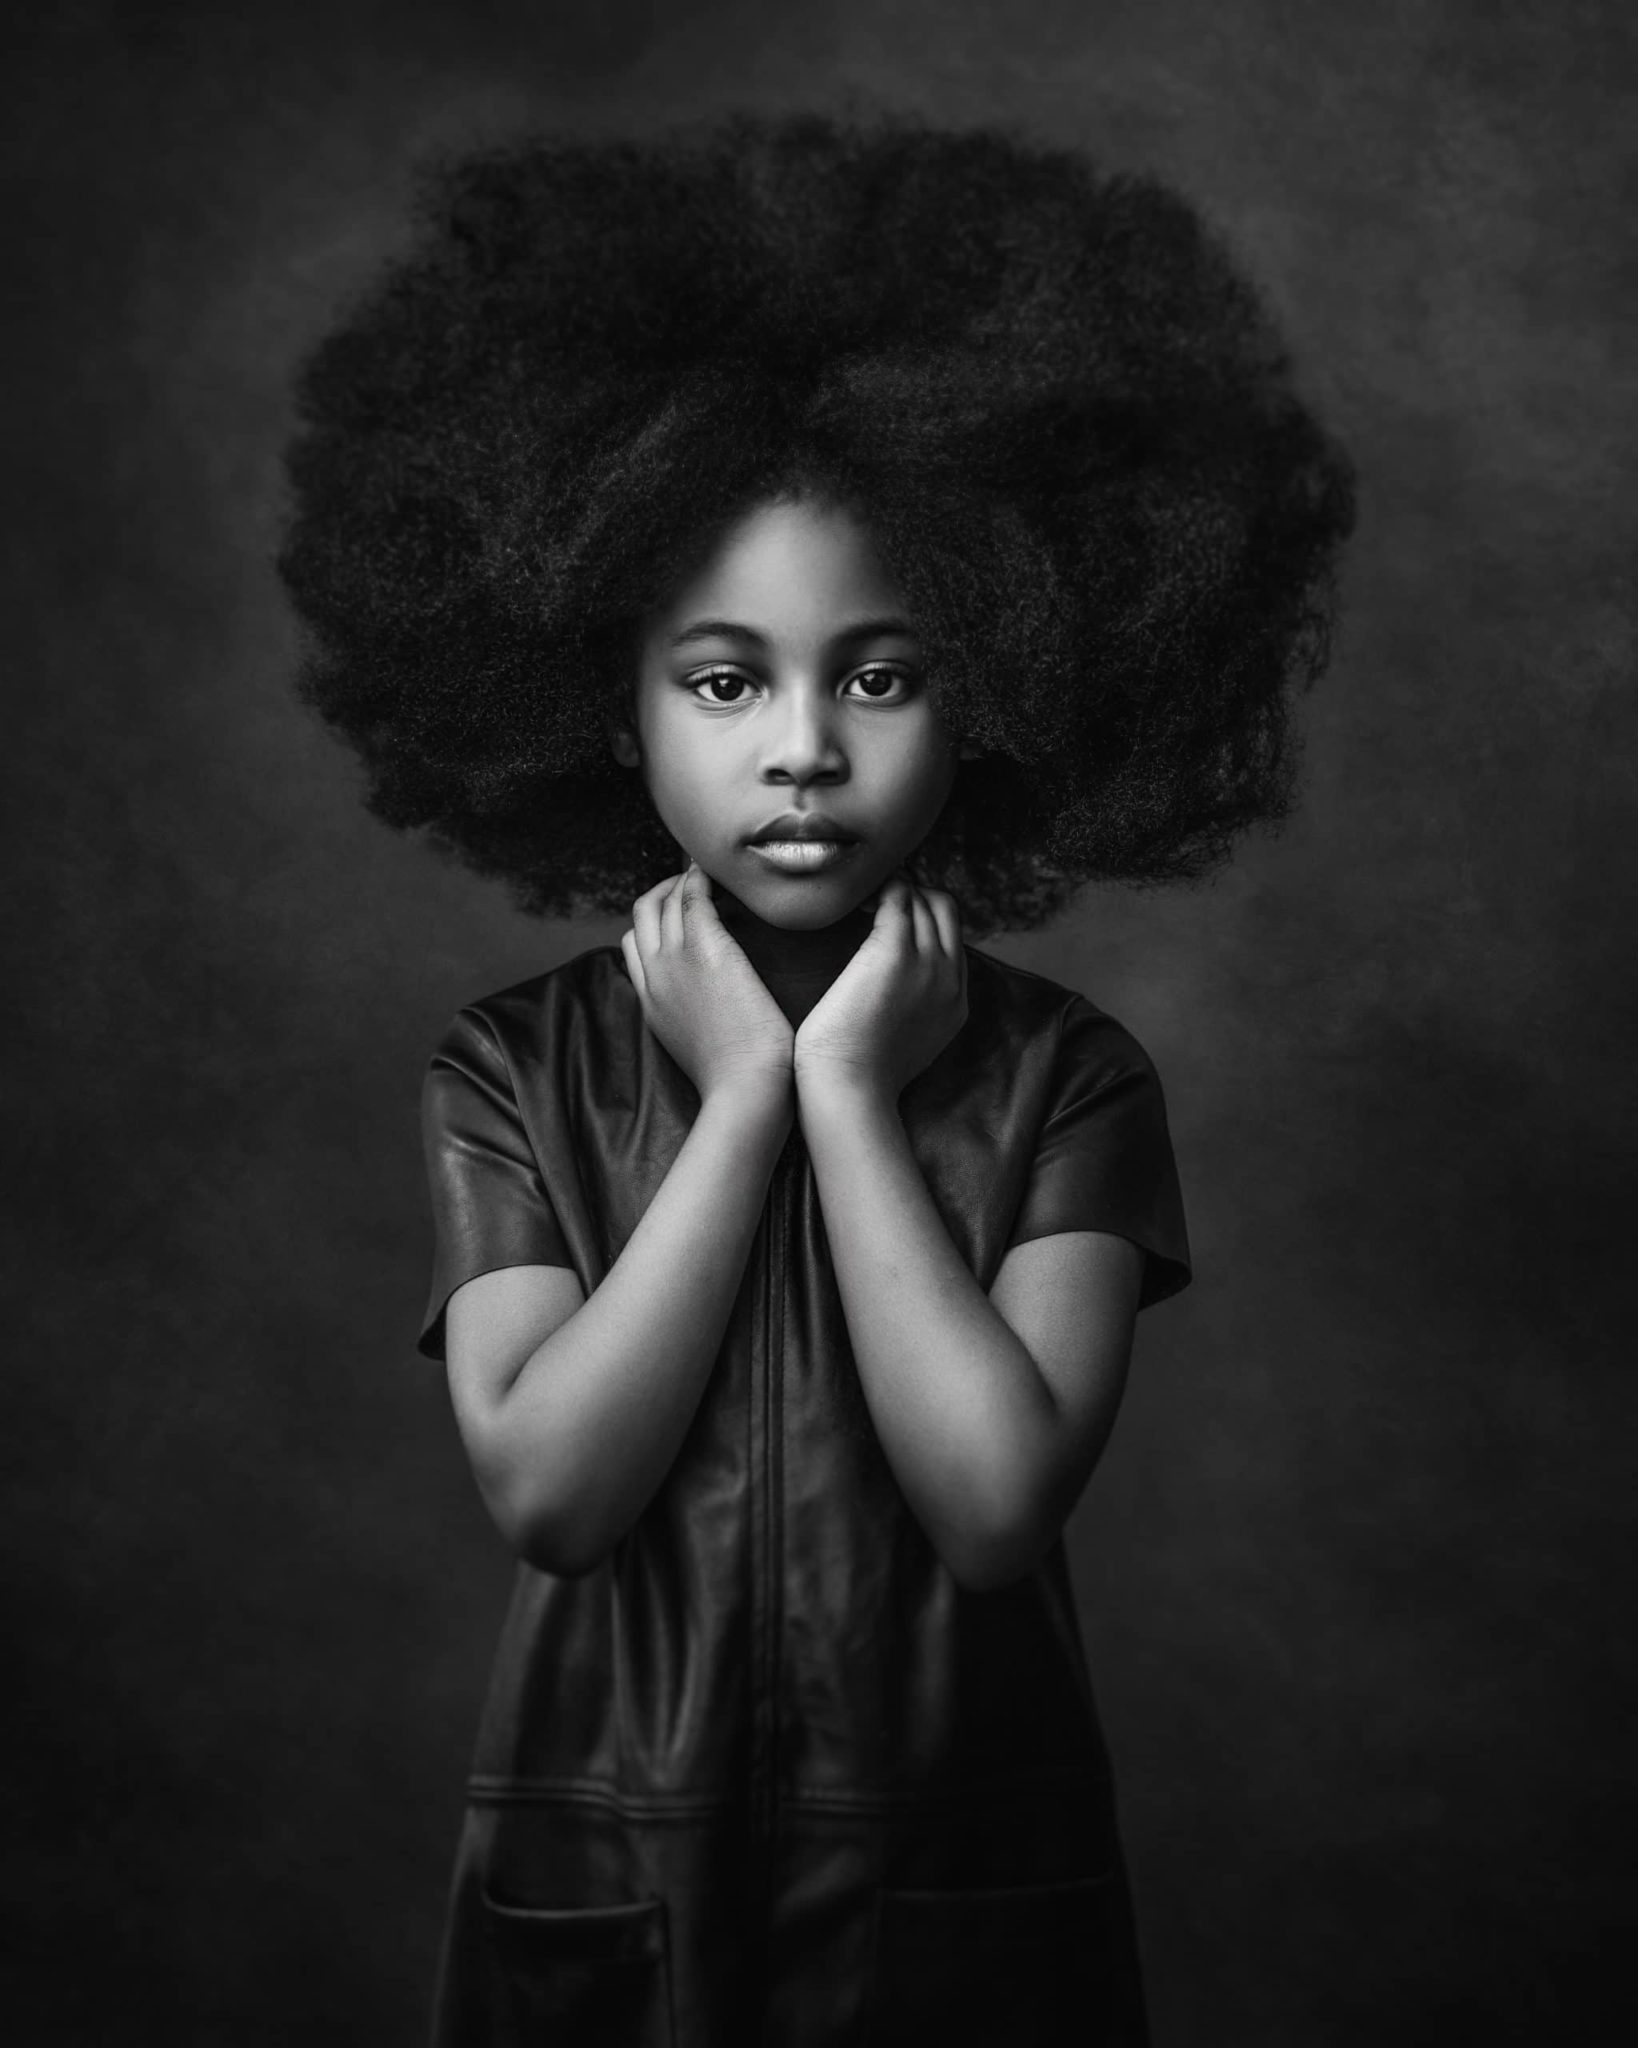
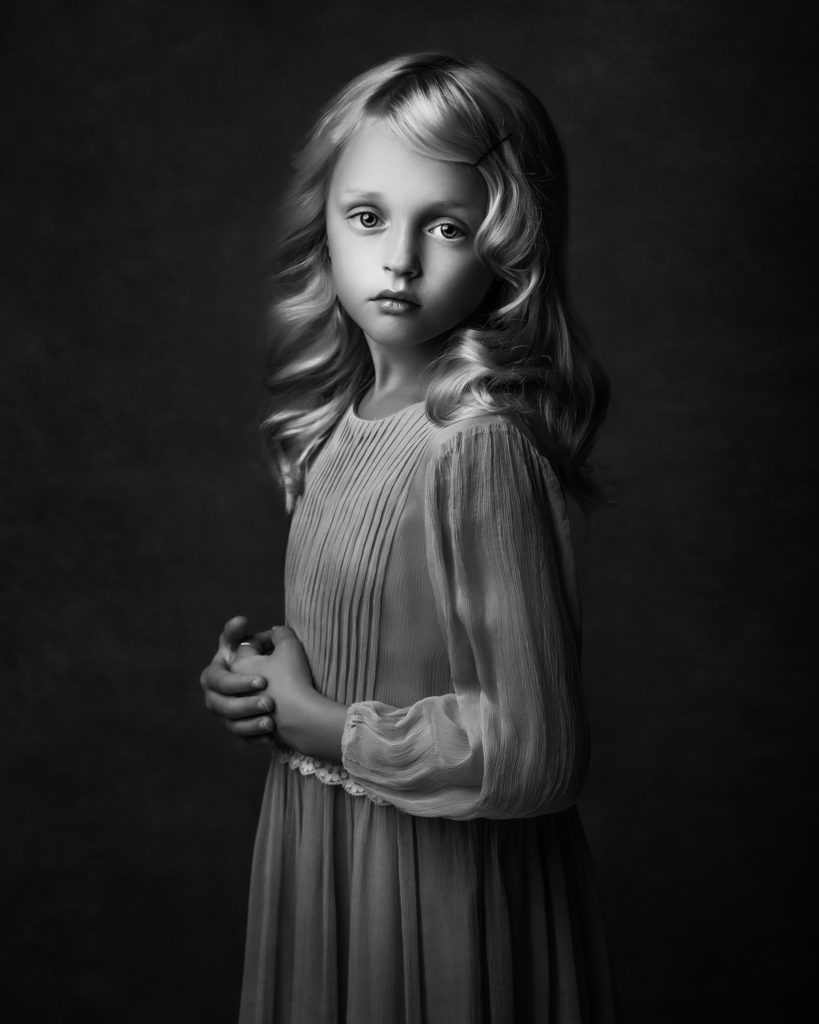
This technique received its name after a famous painter from the 17th century, a master of the Chiaroscuro technique – the method of using extreme contrast between the light and shadows to deliver dramatic feeling and illusion of three-dimensional volume on the paintings.

Photographers can achieve it by using three different setups, such as one light only, one light + the reflector, or two lights.

The key light is positioned to the side and directed 45degrees towards the model, making the shadows under the nose and cheeks.

When the shadows connect, they create the highlighted triangle known as Rembrandt’s triangle.
The perfect triangle should not be wider than the eye and don’t extend below the model’s nose.

The best way to soften the shadows is to use the reflector.

black and white portrait of Afro American girl sitting on a chair created with Rembrandt studio light set up
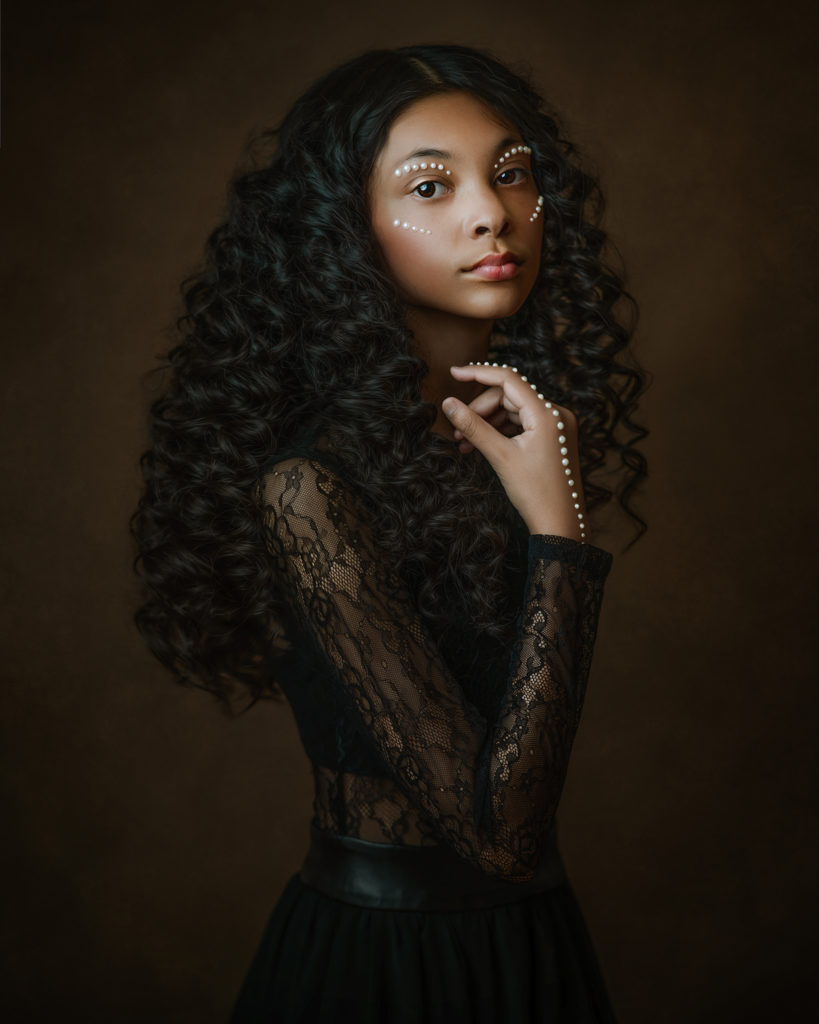
Afro American girl wearing black leather dress posing with hands around her neck for a fine art portrait
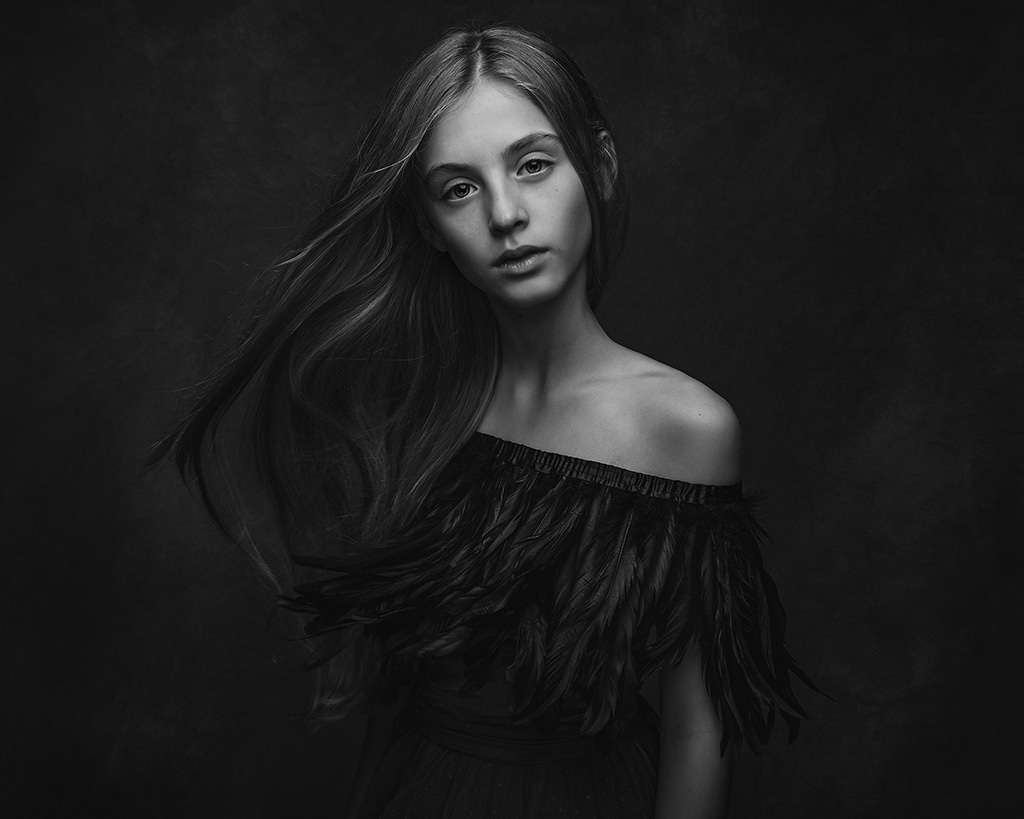
black and white portrait of young girl showing the Rembrandt lighting technique

2. BUTTERFLY LIGHTING

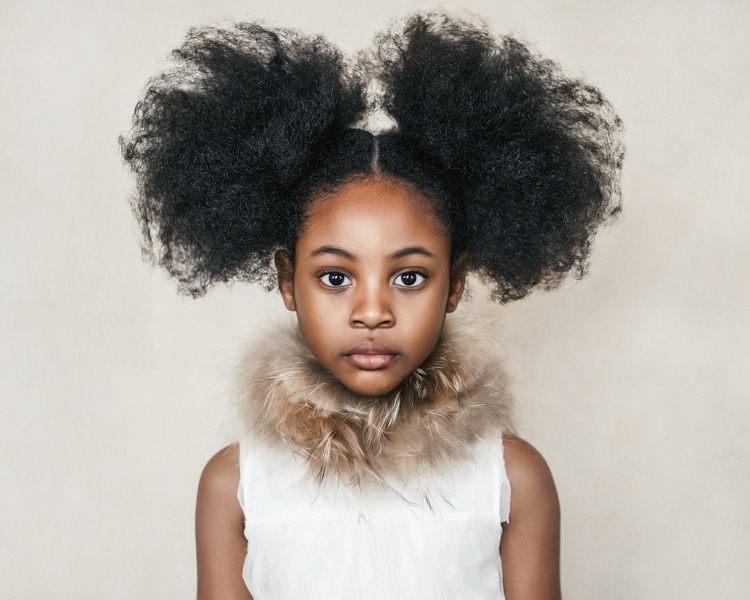
This is one of the most flattering lighting techniques for women portraits.  The light illuminates  most of the face, softening wrinkles.

The leading light is placed directly in front of the model,  and behind the photographer. Due to its position above the subject’s eye level, the light falls down on model’s face creating shadows under the nose, lips, chin and cheekbones.

Girl with afro hair photographed with natural light on the creamy and light backdrop

3. LOOP LIGHTING

This lighting technique got the name after the “loop” shaped shadow, leading down from the nose towards the cheek – which size and intensity vary from small and defined to softer and larger.

The loop should never touch the shadow from under the cheek as that would create the Rembrandt lighting.

Leading light is placed at about 30 to 45 degrees towards the subject and slightly above the eye level.

This lighting suits most people with oval-shaped, round, or square faces.

With only a little shadow across the face, it creates a pleasant and bright look.

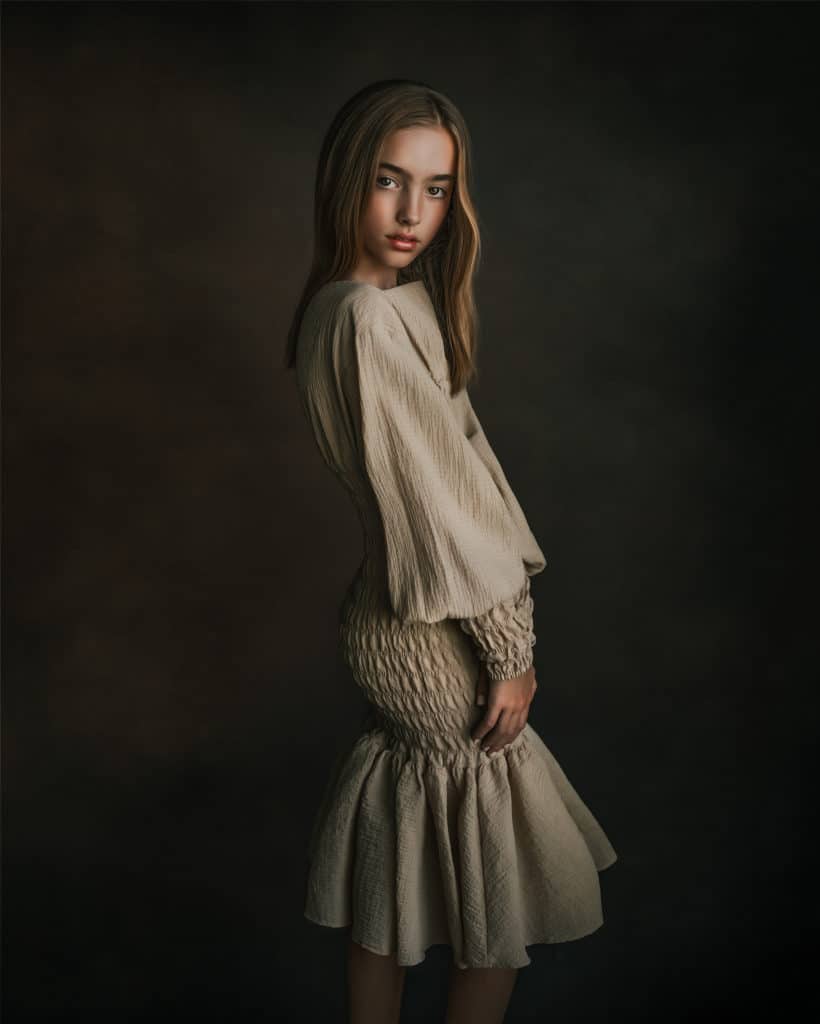
young girl wearing creamy dress posing next to the window
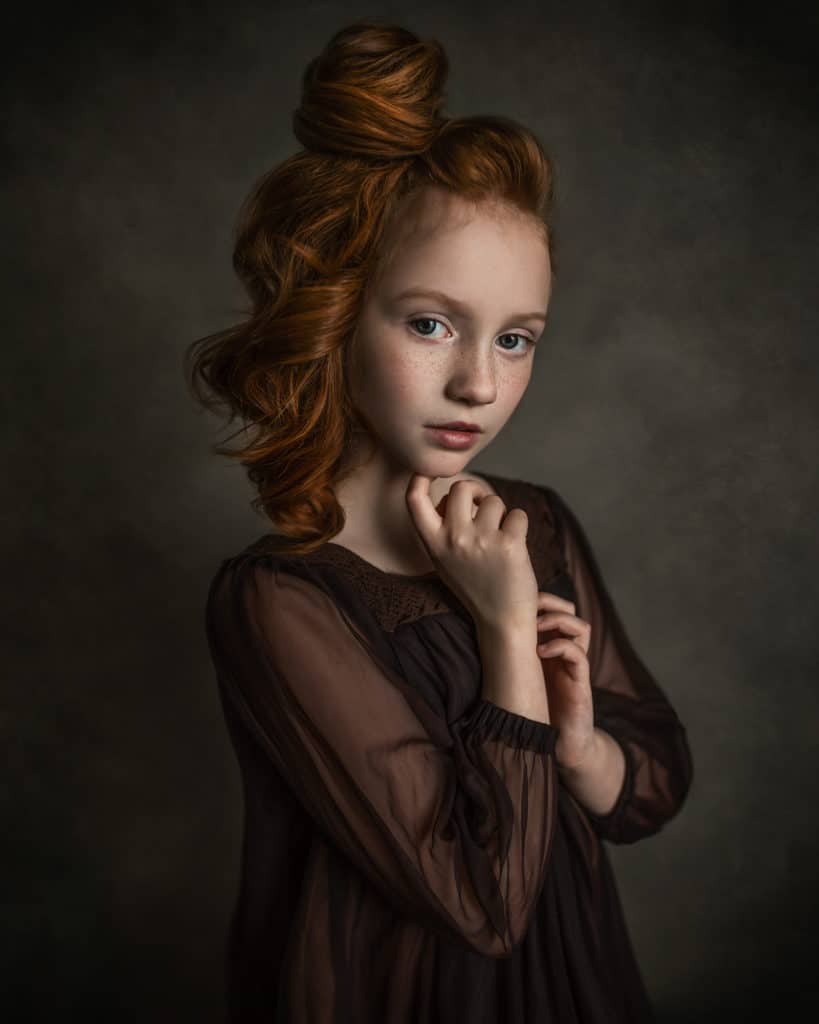
Loop lighting technique used to create the image of young red hair girl wearing the brown dress
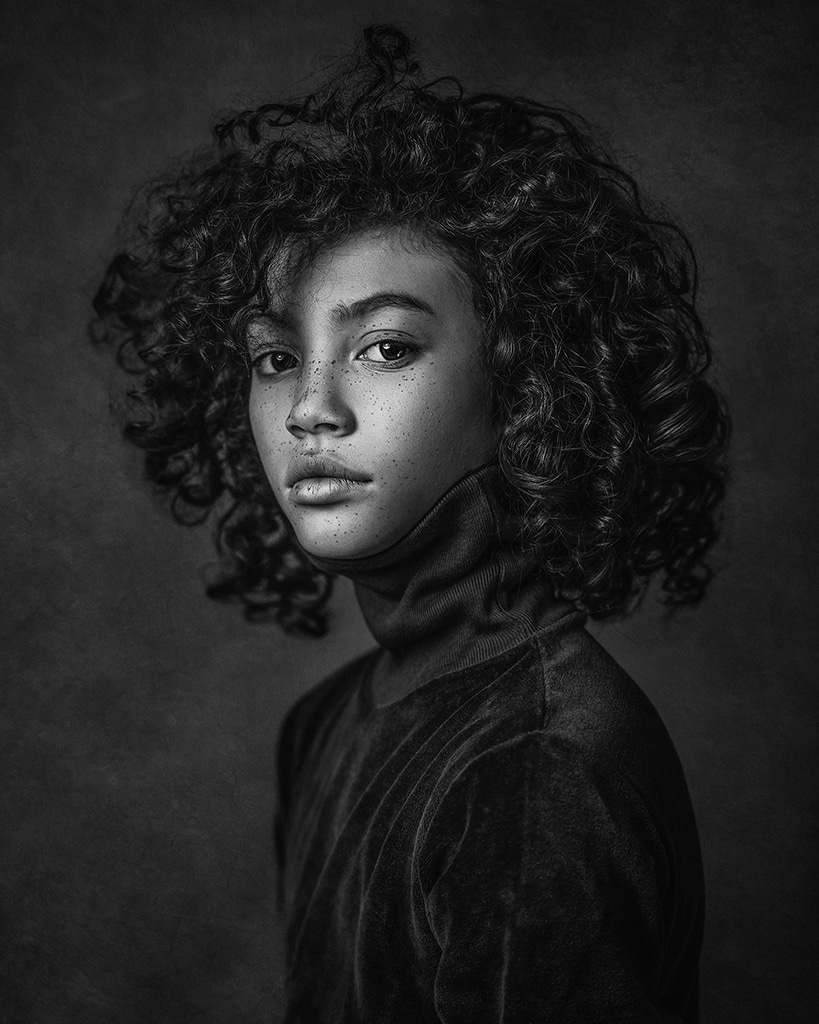
African American teenage boy with curly black hair and freckles wearing black velvet high neck top

4. SPLIT SLIGHTING

The light source is placed at a 90˚ angle to the model. As a result, one side of the face is highlighted, while the other side is completely in shadow creating dramatic effect.

In order to soften the shadows and bring back the details you can use reflector.

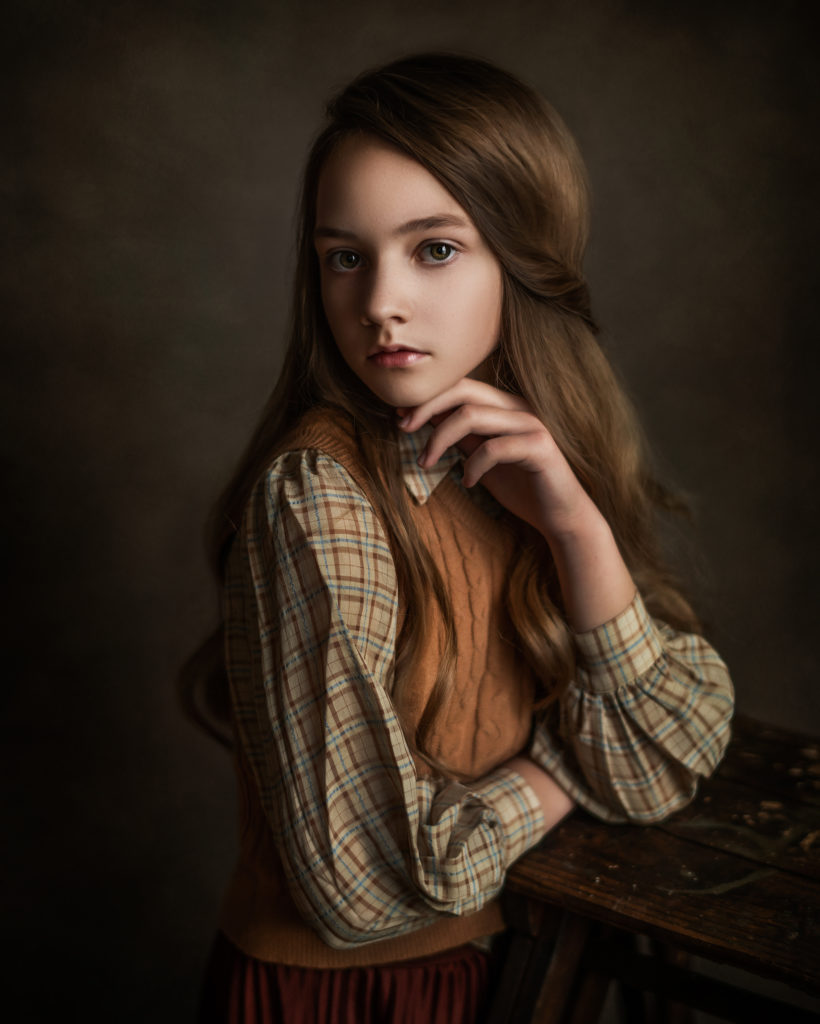
young girl posing on the ladder wearing the vintage earthy colour clothes
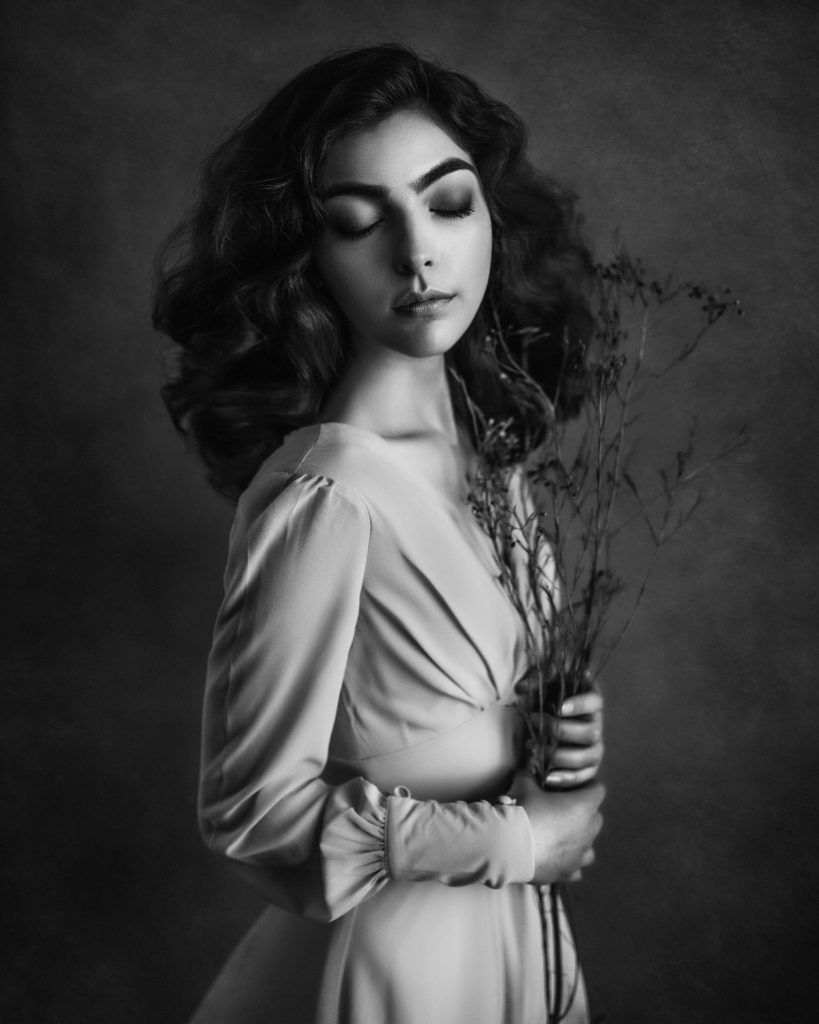
split lighting created with window light visible on the face of beautiful model holding dry flowers

5. Essential photography equipment for one light set up

  • Key light – speed light, strobe, continuous light or window light
  • Modifier – umbrella, soft box – used to diffuse the harsh light coming from the flash to strobe. As a result, the light hitting the subject is softer and more pleasant and more flattering. Soft box simulates the  soft window light giving a gentle transition between the light and shadow. Or beauty dish – delivers semi-harsh light ( softer then strobe but harder then soft-box). It provides a concentrated light source where the centre is the brightest. Popular brands : Profoto, Godox, Elinchrom, Broncolor, 
  • Trigger  – needs to be compatible with flash and camera model
  • Stand – preferably the heavy duty one that can hold the light and modifier
  • Reflector – to soften the shadows
  • Camera and lenses
For better visual understanding of my favourite lighting setups, I have recorded my live session with two different models. Please visit my video courses page for more information.
error: Content is protected !!